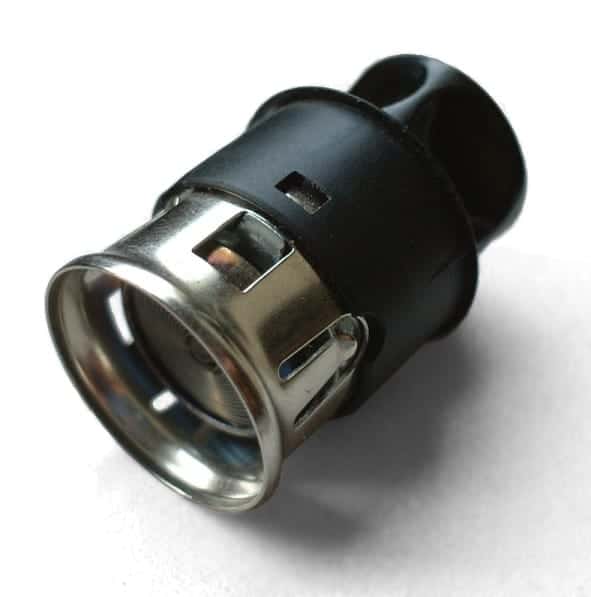
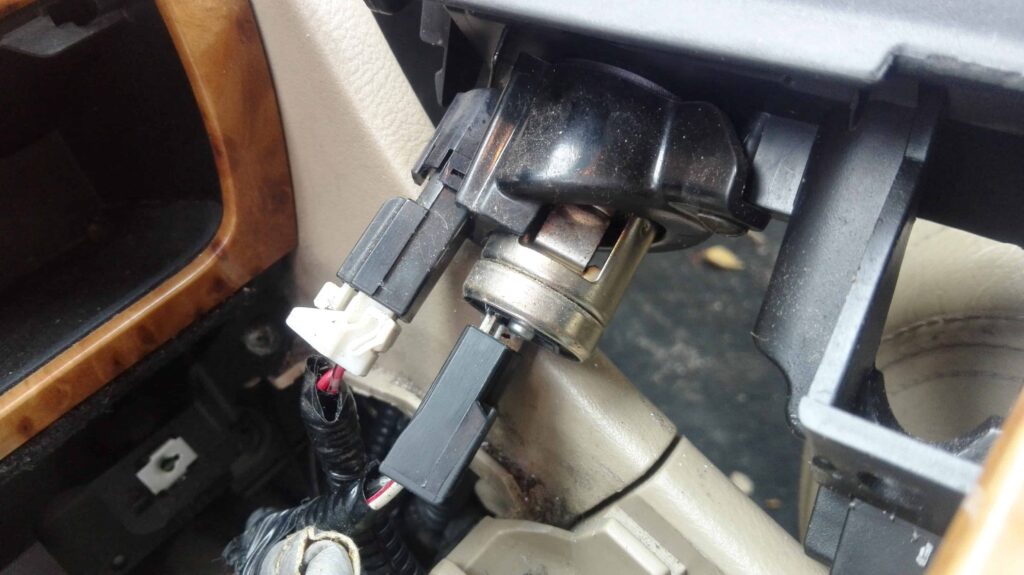
Replacing a 12V car socket is an easy and straightforward job that you should do on your own. Not only does it save you money, because you don’t have to pay someone to do it, but it also lets you understand a bit about your car and how it works.
What Is a 12V Car Socket?
Before we start, let’s get an overview of what a 12V socket is.
A 12V socket also known as an auxiliary power outlet started out as a way to power the simple but brilliant cigar lighter. The cigar lighter (cigars were more popular than cigarettes at the time) was patented in the early 1880s by the German inventor Friedrich Wilhelm Schindler and was renamed to the cigarette lighter in the 1920s.

The cigarette lighter is made of a metal container, that contains a thin flat coil of nichrome metal strip. When the cigarette lighter is pushed into the socket, the lighter is held in place by a clip that is attached to a bi-metallic strip.
When the flat coil of nichrome metal makes contact with the 12V socket’s positive terminal, the current starts flowing through the nichrome metal strip, because the other end of the strip is grounded through the base of the 12V socket. The heating element heats up until it glows orange hot, which causes the bi-metallic strip to release the mechanism.
When released, a loaded spring pushes the heating element away from the socket’s voltage supply, breaking the contact and stopping the heating process.
Modern Use Of a 12V Car Socket
The days of lighting your cigar are long gone because 12V sockets are used as a way to power consumer electronics. Modern vehicles often come with at least several power outlets for convenience. Most often they are covered with a plastic cap, which has 12VDC written on it.
Today a 12V socket provides power supply to various electronics. Examples include reading lights, vacuum cleaners, cooling fans, and chargers. All of them just simply plug into the socket.
How To Replace a 12v Car Socket
Now, this step will be different for each car make and model, but the general process applies to all cars.
You do need to check the service manual for your car or search on google if someone else has outlined the process for your specific vehicle.
1. Disconnect the Battery.
Since you’re already replacing the socket, I’ll assume you also don’t want to spend even more money on a new fuse. By disconnecting the battery we remove the possibility of a short circuit.
Make sure to remove the key from the ignition lock and wait for at least 15 minutes before removing the battery. Most cars have sensitive electronics that still exchange information for quite some time after the ignition is off – sudden loss of power could cause electrical problems in some cars.
2. Remove the Plastic Trim Around the Socket.
If your car doesn’t have any plastic panels holding the 12V socket, you should skip this step. Using a simple plastic trim removal tool to pry the socket out will get the trick done.
On the other hand, if your car wants to put up a fight and has plastic trim around, securing the socket in place, this step applies to you.
However, if you’re unsure how to remove the socket from your vehicle – do a quick google search because chances are someone has outlined the whole process.

Be careful when removing plastic trim as it tends to break easier the older the plastic gets.
Plastic trim removal tools are designed to remove plastic trim without breaking or scratching anything. Seriously, they are a lifesaver. Keep in mind that if you’re pulling on plastic trim hard and it feels as if it’s going to break, rethink your strategy because it probably will.
3. Remove and Disconnect the Old 12V Socket.

Your socket will have 2 wires going to it: one positive and one negative. Consult your vehicle’s wiring diagram to determine the polarity of the wires or use a multimeter.
4. Connect the New 12V Socket.
Since we’ve determined the polarity of the wires in step 3, we are ready to connect the wires to the new socket.
If the new socket is OEM or a compatible replacement for your exact make and model, then connecting the wires should be a breeze because the connectors are the right type and the wires connect to the same terminals. Just connect the positive wire to the positive terminal in your new OEM socket and the negative to the negative. Done!

If you’re installing an aftermarket universal-use socket, chances are the male terminals on the aftermarket socket are different in size and shape, compared to the original. If that is the case, you’ll have to change your car’s female connectors to accommodate the aftermarket terminals. Consult the installation manual that came with your 12V socket on how to do that.
5. Test Out the New Socket.
How many times have you put something back together in your car just to realize you have to do it all over again because it still doesn’t work? That’s exactly why we test the socket now, without reinstalling the plastic trim.
Check the voltage of the socket with a multimeter – the inner shell should be ground and the terminal deep inside the bottom of the outlet should be power. If the polarity is correct and you’ve got 12 volts at the socket, install the trim back.
6. Reinstall the Plastic Trim.
Fortunately, reinstalling the trim is much faster and more fun than removing it. It’s just the reverse of removal.
7. Done!
Give yourself a pat on the back, you’ve just replaced your car’s 12V socket!

Eddie is the co-founder of CarCareCamp.com, and the site’s primary contributor.
Under his belt, Eddie has a bachelor’s degree in Automotive Electronics Engineering and almost a decade of experience working as a semi-truck technician (specializing in electrics).
