Exhaust leaks can be really annoying sometimes. They make your car sound loud, cost a lot to fix, and sometimes require a welder to repair them.
But do you really need a welder to fix exhaust leaks? Well, there’s a product called ‘Muffler Cement’.
Muffler cement is a cheap and easy way to fix exhaust leaks by yourself, but you have to use it properly.
So, in this article, we’ll give you a quick guide on how to use muffler cement the right way.
How To Use Muffler Cement
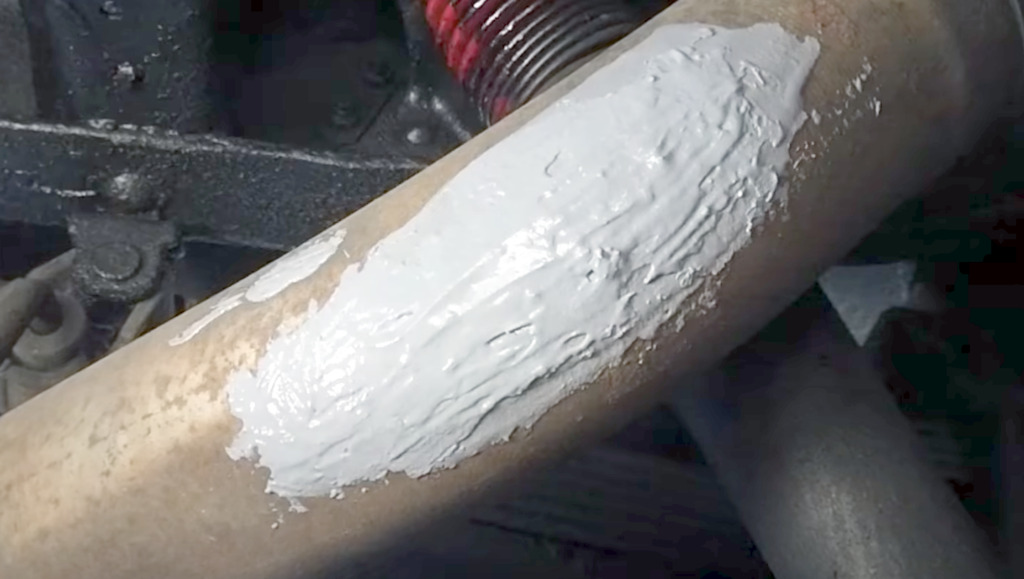
Muffler cement is extremely easy to use. All you have to do is just smear a thick coat of it over the exhaust leak.
However, the most difficult and the most important part is the preparation. In order to make sure that the muffler cement sticks to the metal and stays there for a long time, you’ll have to clean the surface well.
Here are all the things that you will need:
- Floor Jack & Jack Stands – to get under the car (if needed)
- Wire Brush – to clean the loose rust and debris
- Sand Paper – to get rid of more fine dirt and dust particles
- Soapy Water – to degrease the surface
- Rags – to dry the surface
All of these tools and supplies can usually be found at your local auto parts store.
Once you’ve got every tool and material ready, it’s time to start preparing the surface.
1. Clean The Surface
First, let’s make sure that the muffler cement has a clean base to stick to. You’ll have to clean the surface free of dirt, loose rust, and then degrease it to maximize the chances of the muffler cement sticking permanently.

Start off with a wire brush to knock all the loose stuff out, then follow up with sandpaper.
Lastly, degrease the surface with soapy water and wipe it down dry.
2. Apply The Muffler Cement
Now that the surface is clean, it’s finally time to apply the muffler cement.

Put on some rubber gloves and start applying the muffler cement. Try to really pack it in, otherwise, it won’t hold as long.
You should be liberal when applying it.
If you’re trying to patch up a large hole, then consider using some wire mesh to provide strength and more surface area for the muffler cement to adhere to.
3. Let It Cure
This is the most critical part of the process. Normally, some user manuals that come with the muffler cement tell you to start the engine and let it idle for 30 mins in order to cure it.
In practice, this is not a good idea for two reasons:
First, the pressure of exhaust gases tends to push the muffler cement away from holes and makes it go all over the place. Second, letting your car idle for extended periods of time is VERY bad for the engine.
In my experience, the best way to do it is just to leave the car alone for at least 24 hours. That way, the muffler cement will have enough time to fully bond to the metal and cure, without being pushed out due to exhaust pressure once the engine is running.
Sure, it will take you more time, but that way you’ll give the muffler cement the best chance to stick there permanently.
4. Drive Slowly at First
Now that we’ve let the muffler cement sit and cure for 24 hours, it should now be completely hardened or at least hard enough to withstand exhaust pressure.
All that is left now is to start the engine and let the exhaust pipe and the muffler cement warm up. It’s a good idea to let it warm up gradually, so keep your RPMs under 2000 until the engine reaches operating temperature and then drive as normal.
5. Inspect Regularly
Even though muffler cement is a pretty permanent fix, it’s still a good idea to check on it every once in a while. This is especially important if you drive your car regularly on a highway or other high-speed roads, as the constant vibrations and movements can work the muffler cement loose over time.
If you notice that the exhaust leak has gotten worse or if the muffler cement has fallen off, then you may need to repeat the process. However, this is usually not a very large issue, as muffler cement is very durable and should easily last for years.
Conclusion
So, if you’re experiencing an exhaust leak and you want a quick and easy fix, then be sure to use muffler cement.
It’s an inexpensive way to get the job done and it will last for a very long time.
Just make sure to follow these simple steps and you should be good to go!

Eddie is the co-founder of CarCareCamp.com, and the site’s primary contributor.
Under his belt, Eddie has a bachelor’s degree in Automotive Electronics Engineering and almost a decade of experience working as a semi-truck technician (specializing in electrics).

I came here to see if muffler cement could cure over time instead of heat and found my answer thanks!
For larger holes one can use steel wool as a filler as you pack the cement into the open area. So this will be a stop gap measure depending on how bad the rusting is. It might last you a couple of years, maybe even 3 (for smaller holes it can be 3-5 years) or it might only get you through the season but at least it will get you by and make your car quiet again .. for a while longer.